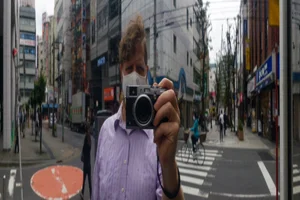
The Best Camera Settings for Street Photography
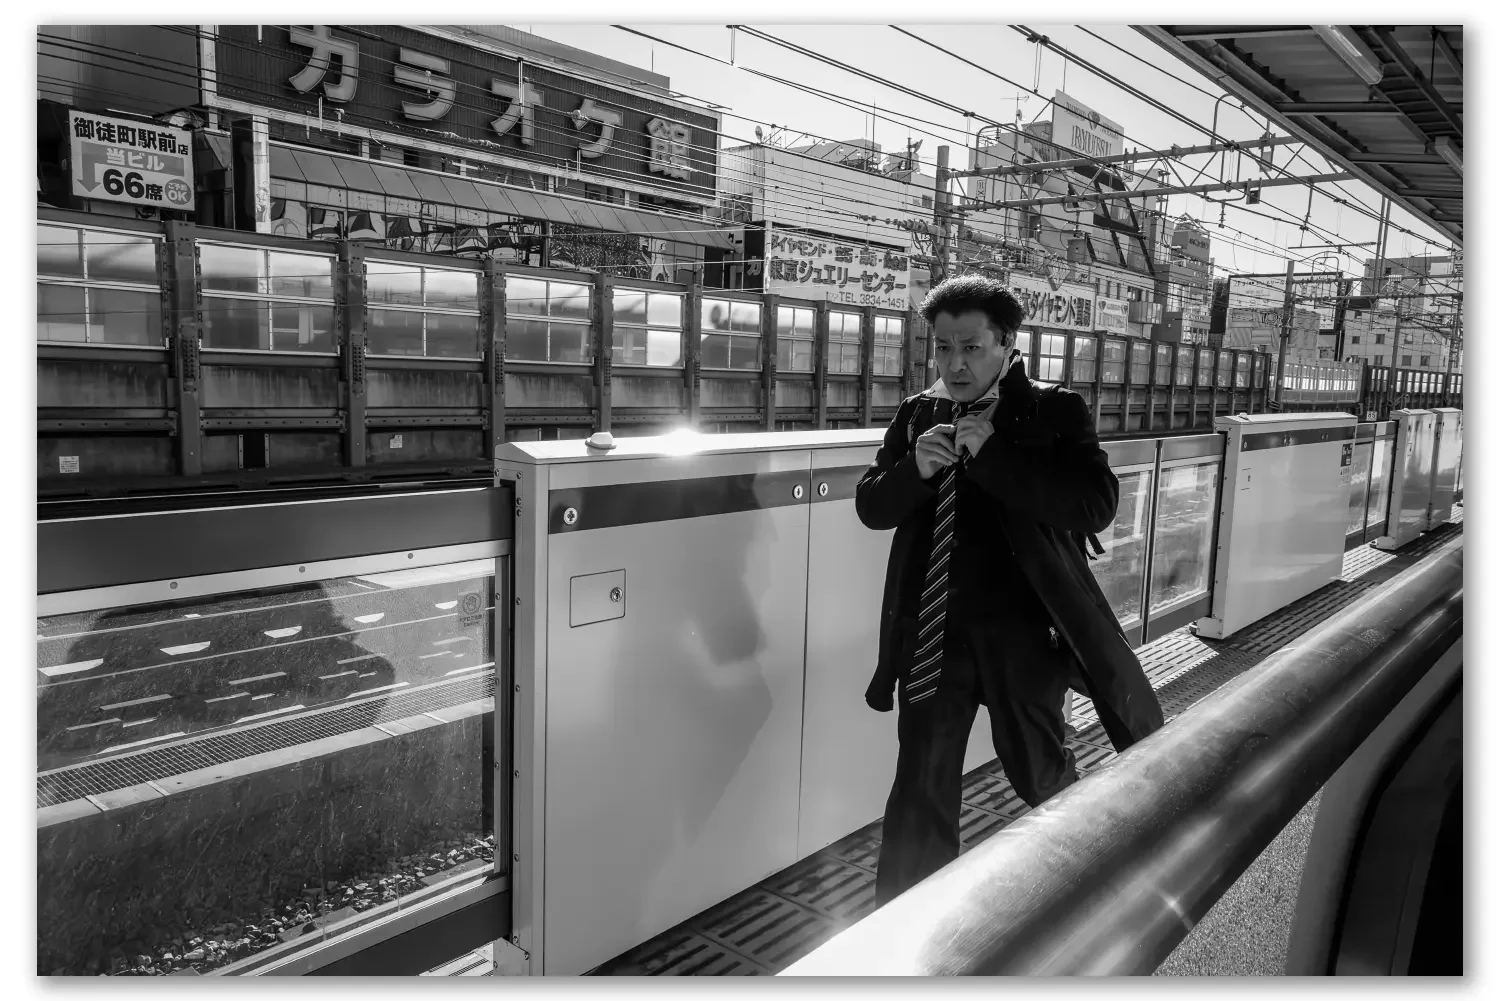
The best settings to be ready for street photography in Tokyo
The Best Camera Settings for Street Photography
A reliable, beginner-friendly starting point: shoot Aperture Priority at f/8, set a minimum shutter speed of 1/500s to freeze movement, use *Auto ISO (capped around 6400), focus at 2 meters, and record in RAW. In bright light, you can drop ISO and stop down; at night, raise the ISO cap and accept some grain. Adjust from there — but this setup handles 90% of daytime street shooting.
Now, the part that most settings guides won't tell you.
This is great for walking the streets; it’ll net you a great image most of the time. It is how I walk around every day. It isn't how I shoot every shot. In fact, it isn't how I shoot most of the shots that I keep. It doesn't mean it isn't incredibly useful, and that's why it's my starting point. Let me explain.
When I arrive at a location, before I step off the subway or the train, I set my camera up like this: usually at F/8, almost always at a 1/500th of a second. For the ISO, the easiest thing to do is auto ISO. The cameras I have, I'm really happy up to 6400. That being said, I like to control the ISO, so I will shift it up and down as needed, which I can do quite quickly on muscle memory.
The reason I like to control the ISO is that there's always a shot you must get, and you have to go in to get it, and that's where all the settings can change. It's fine to leave your ISO on auto, your aperture at f/8, and your shutter at 1/500 second. You'll very likely get a very good shot. Experience tells me that some shots want to be, need to be great, and to make them great, those settings need to change. I might need to drop my ISO, open up my aperture, and get a portrait. It might be a silhouette or a vein of light that I want to expose. Anything's possible. AutoISO won't let you do that.
The best advice I can give for settings is quite simple: do whatever you need to do to get that shot. If it's crazy dark and you've got to crank up your ISO way past where you're comfortable, and that's what lets you get that shot, then that's what you do. The other half of the settings advice is: after you get that shot and you're done in that moment and you're ready to move on, reset your camera to f/8 and 1/500th of a second. If you're using ISO, put it back on. If you're like me and you want to dial in your ISO, set it to a level you're comfortable with for that light that day, and start walking.
The starting recipe, explained
Aperture Priority (A/Av): You pick the aperture; the camera handles shutter speed. It frees you to think about the picture, not the math.
f/8: Deep enough depth of field that near-misses on focus still land sharp — crucial when moments happen fast. (It's also the basis of zone focusing.)
Minimum shutter 1/500s: Fast enough to freeze a walking stranger. Set a shutter-speed floor in your Auto ISO menu so the camera never drops below it. Bump to 1/1000s in bright light or for faster motion.
Auto ISO (cap ~6400): Let the camera ride ISO to keep your aperture and shutter where you want them. Modern sensors handle 6400 cleanly; raise the cap at night.
RAW: Street light is high-contrast and unforgiving. RAW gives you the latitude to recover highlights and shadows later — more on that in RAW vs JPEG and editing.
The contrarian part: settings are scaffolding, not the photograph
Here's what I actually believe. The entire point of dialling these in is so you can stop thinking about them. Beginners obsess over settings because settings feel controllable, and the moment doesn't. But no one ever made a great street photograph by nailing the exposure triangle — they made it by being present, in the right place, ready. Set this once, let it become muscle memory, and spend all your remaining attention on light, gesture, and timing. That readiness is the real subject of making your own luck.
The gear matters less than you'd hope, too — any camera works, and the focal length you learn to see in matters more than the body.
We lock your settings in the first ten minutes of a one-on-one Tokyo Forgeries masterclass — then spend the day on the only thing that actually matters: seeing.
What are the best camera settings for street photography?
A reliable starting point is Aperture Priority at f/8, a minimum shutter speed of 1/500s, Auto ISO capped around 6400, continuous autofocus or zone focus, and RAW format. Adjust ISO and aperture for the available light.
What shutter speed should I use for street photography?
Use at least 1/500s to freeze a walking subject, and 1/1000s or faster in bright light or for quicker motion. Setting a minimum shutter speed in your Auto ISO menu keeps the camera from dropping below it.
Should I shoot street photography in RAW or JPEG?
RAW is recommended because street scenes are high-contrast, and RAW gives you latitude to recover highlights and shadows in editing. Some photographers prefer JPEG or RAW+JPEG for a faster workflow.
The streets never look the same way twice. I’m curious—how does this side of Tokyo hit you? Drop a comment below.
I live on flat whites and shutter clicks. If you’ve found value in these shots, toss a coffee my way to keep the sensor humming.
See you in the shadows.
Tokyo Forgeries is an evolving archive of Tokyo street photography and vintage-lens deep dives. We spend 30 days in every ward, using mid-century brass and glass to capture the city’s soul. This is a roadmap for the active pursuit of craft—documented through the geography of Tokyo and the character of its light.